Hello, All!
I am proud to have a successful “do it yourself” project story. Let me begin:
In the weeks leading up to Valentine’s Day Missie had plans for a beautiful and happy display of affection for all. She was going to make a table runner in shades of red, pink, and white (maybe black). She was going to bake heart-shaped sugar cookies with her five year old, frost them, and sprinkle away with red and white jimmies. She was going to buy/make thoughtful gifts for her loved ones.
But alas! Time flew by and there were snow days, work, and life just kept happening. As Valentine’s Day drew near, none of the plans ended up happening. However, as far as preschool Valentine’s Day parties go, the show must go on!
Missie kept buying groceries to feed her hungry family at home. She kept passing the Valentine displays at stores and seeing those boxes of Valentine’s Day cards small children exchange at school. She kept thinking to herself, “Oh yeah, I should really pick up some Valentine’s for the class party. I wonder which ones DD would like. I should ask her. Maybe I should bring her and she could pick out her own. We’ll do that ‘next time’. Na, maybe we will make our own!”
Finally, next time was two days before the Valentine’s party and Missie didn’t make any Valentines and she didn’t feel like making another trip to the store. She DID however have leftover card stock, leftover Valentine stickers from last year, rubber Valentine stamps she bought on clearance last year, some old black and red ink pads, and half a bag of Valentine suckers. The time had come to make some Valentines! So she did.
The End
This is what I did…
Last year we picked out a box of Peanuts Valentine cards. Each card was supposed to have a Peanuts pencil that was stuck through the card. My idea was to make a little Valentine card like the Peanuts card, but instead of a pencil, a sucker would go through the card.
- I took a sheet of white card stock (8.5in x 11in) and folded it in half the long way. Then I cut it down the fold so I had two paper strips.
- Next, I measured and marked every 2 inches down the long way of the two paper strip. Then I cut the strips where I measured. I now had the cards that would be decorated and folded in half.
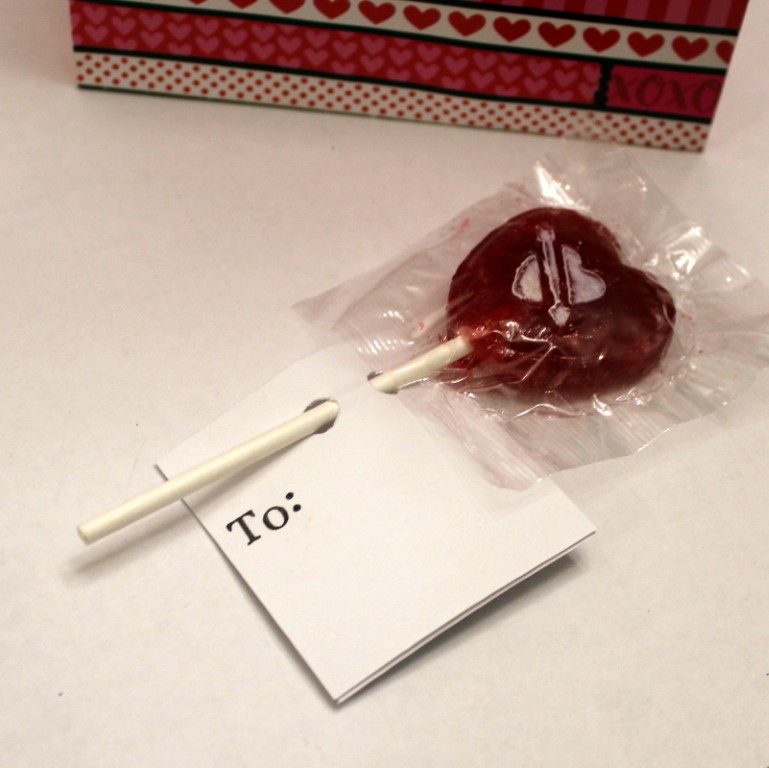
- I folded each card in half and punched two holes in the end that was not folded.
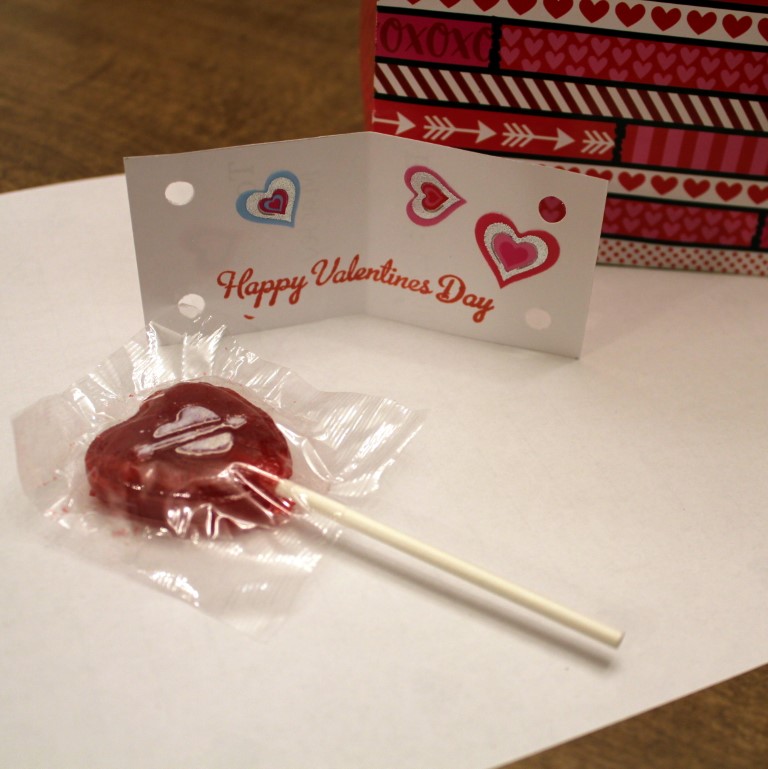
- I opened up the folded card and stamped “Happy Valentine’s Day” in red ink. DD added 2-3 stickers above the stamped part. This was the part she wanted to do!
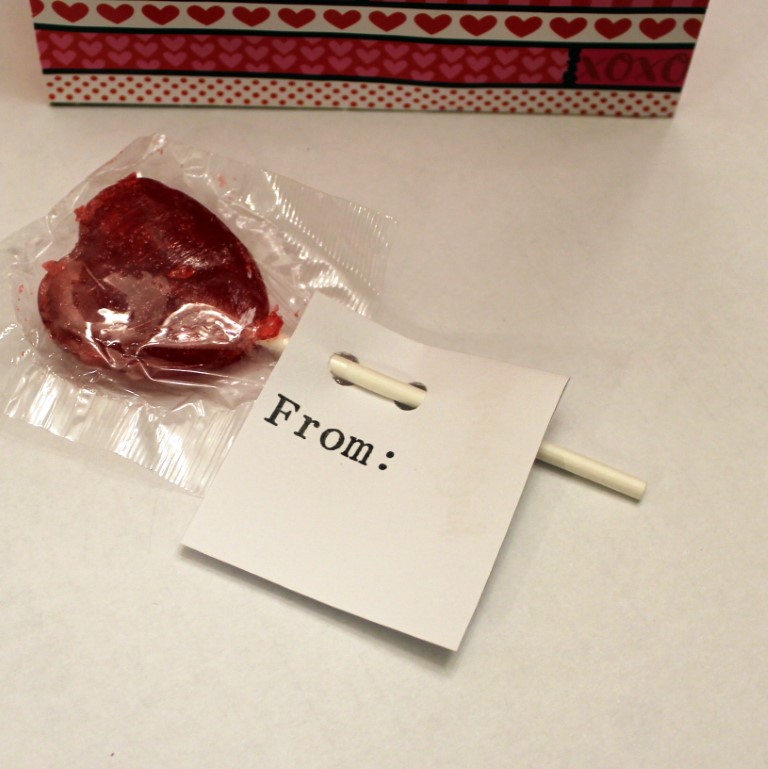
- On the other side of the card I stamped “To:” and “From:” and had DD sign her name near the “From” stamped part. DD thought that was too much work. I made her do it anyway. (The “To:” and “From:” I did with individual letter stampers. I really liked using those!) I printed the classmates’ names on most of the cards for DD.
- Last, we folded up the cards and stuck a heart-shaped sucker through the holes on the cards, making sure the “To:” stamp is on the outside of the card.
We put the cards in a pretty Valentine treat bag and we are two days ahead of the game!
I think these turned out nicely. I kept arguing with myself that these wouldn’t turn out as well as the ones in the store. And, all the other kids will have character Valentines. I don’t want my kid to feel left out.
But, these are preschoolers. I am sure they could care less, honestly. And, maybe DD will remember this and can build on this idea in the future. Who knows?
I had tried to go on Pinterest to get ideas for Valentines, but I got overwhelmed and distracted by other things. That is always part of my procrastination problem. Pinterest is NOT always my friend.
We are stuck at home AGAIN for another snow day. We will have to make time up in summer, I’m sure. I am thinking we might bake some Valentine cookies…or not. ;D
Have a great day! Stay warm and safe.
Missie S.